This is the first in a series of three posts detailing how I worked with a new English whisky distillery to define and optimise their wash production.
Background
In November 2023 I was called by a new craft whisky distillery to help them with two distinct processing problems: stuck mashes and incomplete fermentations. However this soon grew into a project to optimise the yield of their wort production.

Structure
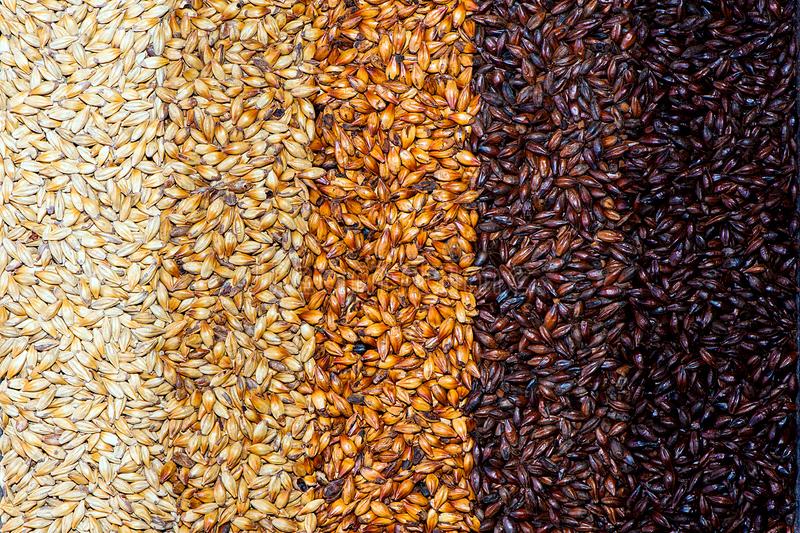
This first post explores the key differences between wort production for beer and wash production for whisky. Both are sugar solutions derived from malted barley but understanding the key differences between the two methods is vital to the quality of the end product.
The second post covers how I defined the process control parameters from scratch using ‘on the hoof’ experimentation on the live process (a skill I developed working in a production based tech support roles in the chemical industry).
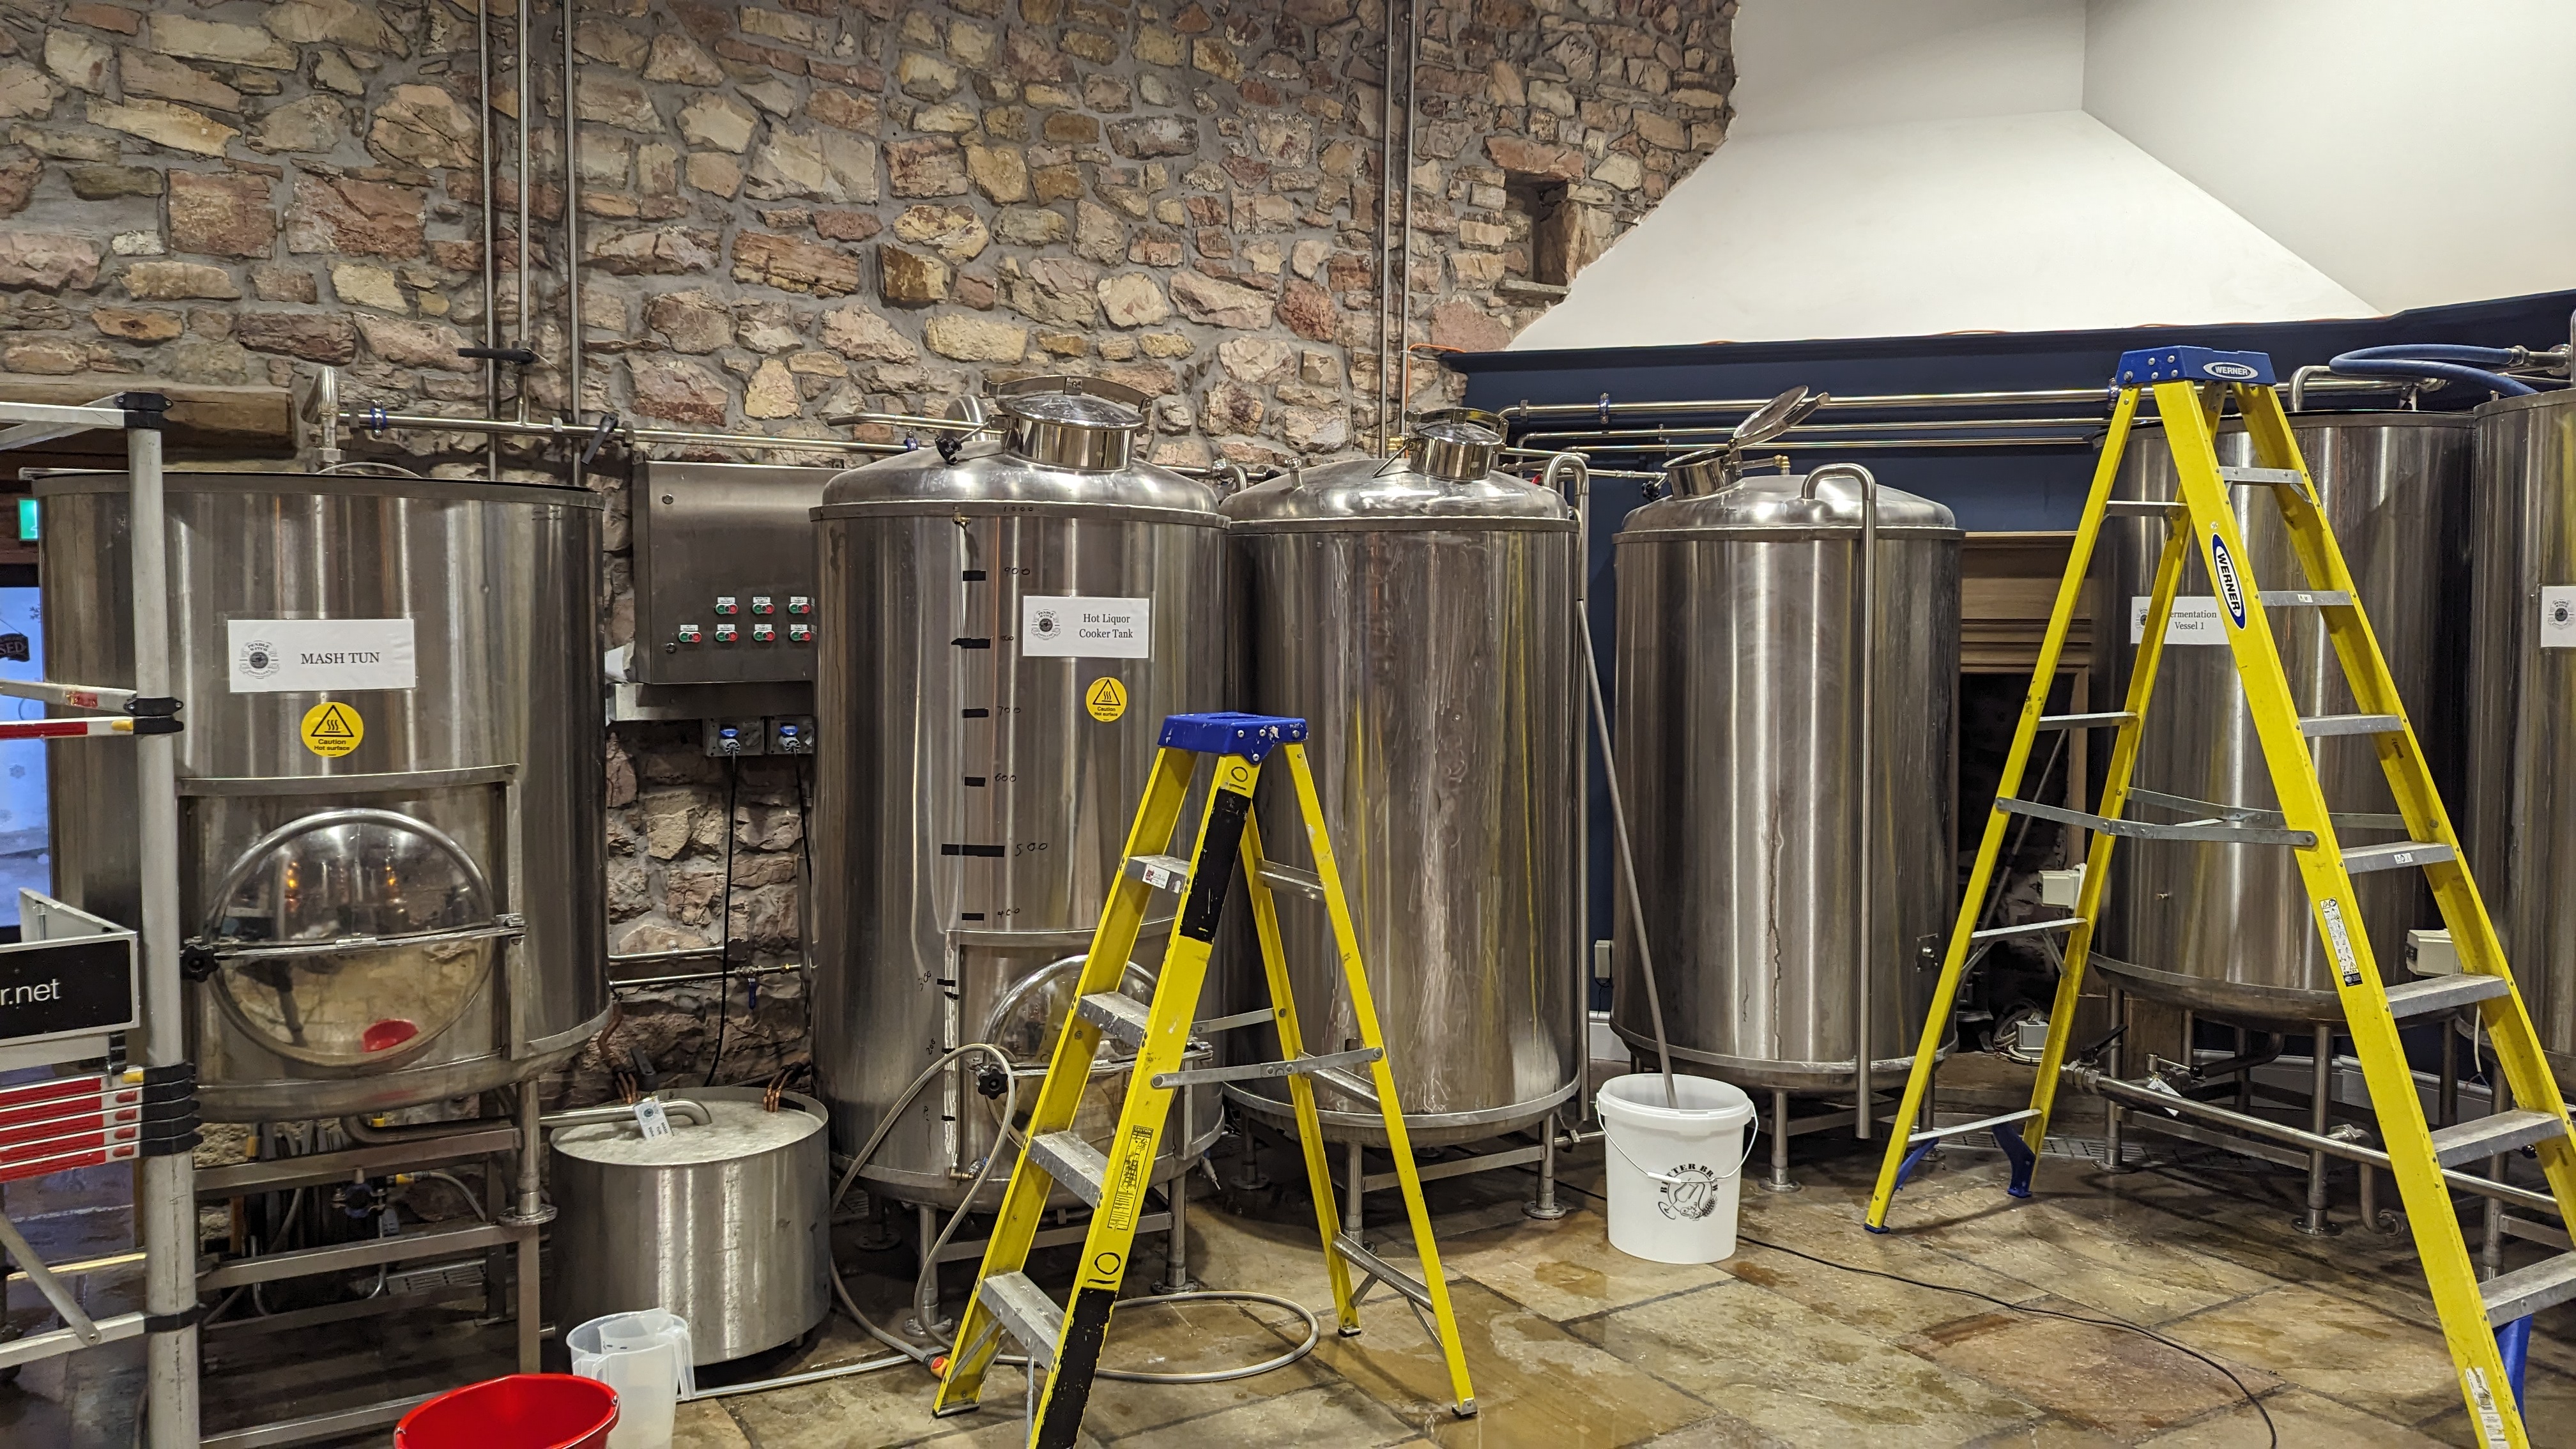
The final post (link to follow) looks at changes we implemented in the brewing equipment. What I arrived on the project the brew kit had already been installed, but some minor low cost changes have significantly reduced the process time, which in turn have positively impacted both quality and yield.
Part 1 – What are the key differences between wort (beer) and wash (whisky) production?
Why are the processes different?
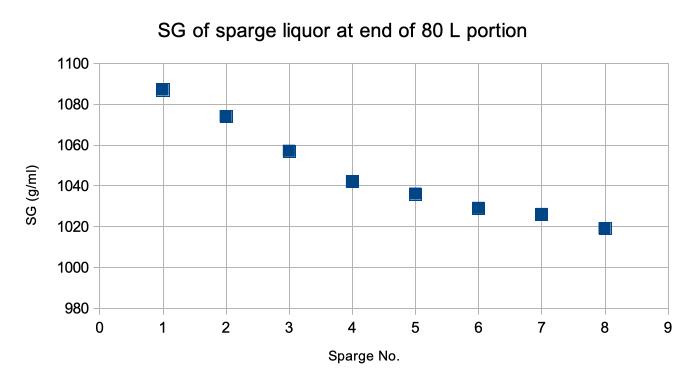
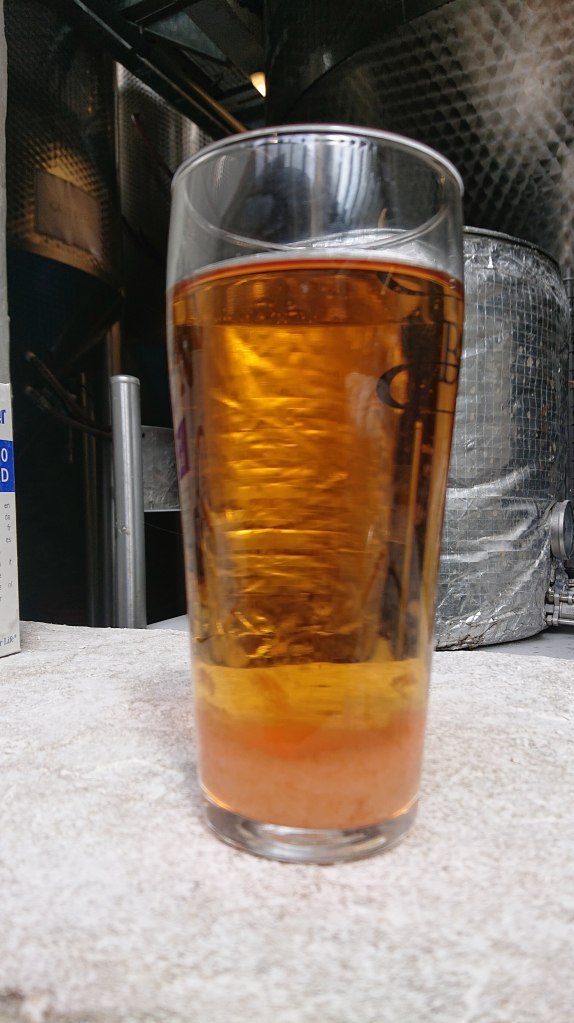
The primary driver of whisky wash production is yield. Because the optimal ABV of the fermented wash is around 8.5% ABV, the quantity of available sugar left in the weak worts after the end of the sparge would be considerable if a beer wort method were used – in this case the weak worts at the end of run off would be 1.050-1.055 (approx 140 g/L sugar content). Additionally, it is desirable in beer to have unfermented complex sugars in the final beer to give body and a residual ‘sweetness’. Beer worts typically show an attenuation* of 75-80%. If your aim is to maximise the yield of alcohol per tonne of malt both of these factors would be considered a loss to yield. With whisky production, the optimal yield is 415 litres of pure alcohol per tonne of malt input.
It is always important to remember that the (desired) flavour of whisky is defined by the process by which it has been made. And since the nature of the process was fixed before the underlying consequences on the biochemistry of the process were fully understood it is important to (1) follow traditional methods to give the traditional/desired flavour; (2) understand and manage the shortcomings or “features” of these methods to achieve a consistency of yield to, and quality of final product.
*percentage conversion of sugars to alcohol
 Mash temperature
Traditional wash production uses a mash tun, and normally you would think that this would limit you to an isothermal mash. But with whisky wash production a pseudo step mash is carried out by initially mashing at a low temperature (ideally just above the gelatinisation temperature for the quality of malt, which varies by the season). This favours the production of immediately fermentable sugars. It is then sparged at 75 C to both wash out the sugars already formed and also to raise the mash temperature to activate alpha-amylase thus form and extract complex sugars also.
Run off method
To maximise sugar extraction during sparging, most of the strong worts are run off before the sparge is started. Often the liquor:grist ratio is higher in wash production which means there is more volume to run off. This step needs to be carefully designed to avoid running off too much liquor which could lead to a stuck mash.
No wort boil
Wash is run off directly into the fermenter, it is not boiled. There are a number of consequences to this:
-
Lactic acid bacteria (LAB), present on the surface of all barley malt remain viable and active in the fermenter – they are not denatured by a boiling stage. This needs to be accounted for (see below)
-
In a well run process, active enzymes – amylases but also importantly limit-dextrinase – transfer with the wash into the fermenter
-
Because the wash has not been boiled (which causes vigorous mixing) or recirculated in the copper the wash in the fermenter cannot be directly sampled to gain a representative sample for SG / OG control.
These consequences all need to be managed if you are to achieve product consistency and high yield.
Managing lactic acid bacteria (LAB).
As soon as the wash is formed, LAB start acting on the maltose to form ethyl lactate. Because they convert sugars which could form alcohol this can have an economically significant effect on the yield. For this reason, yeast is pitched into the strong worts, early in the transfer into the FV. The aim is for the yeast to out compete the LAB and minimise losses of sugar to ethyl lactate at the start of the fermentation.
The fruity flavour imparted by ethyl lactate is an important characteristic of whisky so careful management of the fermentation is required to ensure that the level is consistent from batch to batch. At the end of the yeast fermentation, LAB are able to metabolise other oxygenates, such as malic acid to form ethyl lactate. To ensure flavour consistency the length of time that the fermentation is left to stand post completion of yeast action needs to be controlled. It is normal in small scale whisky production for multiple batches of wash to be required to fill one cask with spirit. Because of the impact of five day working not usually possible to allow every fermentation to run for the same length of time, and from this come the terms ‘shorts’ and ‘longs’ describing wash fermentations which have been been completed and distilled within the week or run for longer over a weekend. Each cask of spirit should contain the same proportion of shorts and longs and thus production should run to a regular pattern each week.
Malt enzymes in the fermentation
It is essential for the enzyme limit-dextrinase (from the malt) to remain present and active in the fermentation. For this to happen, the time that the wash remains hot post saccharification needs to be minimised i.e. you need to run off and cool the wort as quickly as possible once starch conversion is complete. It is this enzyme which breaks down the unfermentable sugars in the wash into fermentable sugars which allows a far higher attenuation by the yeast. A typical whisky wash has an OG of 1063, without limit-dextrinase the fermentation would end at an SG of around 1013, with it present the fermentation continues to an SG of 996-1000.
Wash SG control
Ideally the FV (often called a wash back) needs to be able to be recirculated so that the wash gravity (SG) can be accurately measured and controlled, at very least during process commissioning. Remember that wort gets progressively weaker during its transfer, and thus the FV is stratified ‘by design’ and thus non-homogenous. Recirculation could not easily be retro-fitted to the kit I was working on, so I developed and proved an alternative method which I will discuss in my next post.
3rd water
Once all the wash has been collected, the mash bed is sparged again, at a higher temperature still, and this liquor is used for mashing the next batch of malt. This liquor is called 3rd water.
-
First water – liquor used to mash the grist.
-
Second water – sparge liquor sent forwards to the FV.
-
Third water – second sparge liquor containing residual sugars, recycled into the following batch.
In a large distillery, the 3rd water is likely to be used within the hour. In a craft distillery it is likely you will only be making one or two batches of wash per day so you need want to hold some of your 3rd water overnight. What is key here is to keep it above 70 C so it remains free of the effects of bacterial or wild yeast contamination. However, for anyone familiar with smaller scale brewing you know you want your mash water at or close to strike temperature (usually 70-74 C) at the start of the day anyway so it is normal to heat it to 10 C above this the night before knowing it will come in about right the next morning in a well insulated hot liquor tank.