There is a rather nice rural pub near to me that I know has its own 4 BBL brew kit. A chat with the GM in the autumn revealed that the kit hadn’t been run for quite a while because of the lack of an available brewer. When I conceived the idea of becoming a freelance locum brewer and beer designer this is one of the people I contacted to find if they wanted me come a breath life back into their nano brewery. They did, any they were not the only potential client…
Roll on a few months and I’d had some really fruitful conversations with the landlord and he was keen for his in-house ale to be made once again, traditional flavours in a golden beer. As with all my contracts I like where possible to start with a couple of hours of familiarisation with the last person to have run the kit. Whilst the unit operations of making beer on any small brew kit are almost identical, the foibles of each kit are often unique.
Having learned during my familiarisation session that this brew kit had not been run since 2018, I proposed that I should spend time recommissioning it. It had been left good and clean, but the last thing you want on your brew day is to find a leak, a faulty heating element or a pump that doesn’t work. Those things might be impossible to fix ‘on the hoof’. In this case I found two pumps which had seized due to swollen pump case seals. At this point, I need to say thanks to Dave at PBC who talked me through a simple fix which worked a treat.
Next on the list was to check the recipe which had been presented to me. There are a few design calculations that need to be correct for a beer to come out as you hope. As much fun as it is having a happy accident, getting the raw materials levels wrong on a brew is more likely to lead to something bland or unpleasant that a paradigm shift in craft beer design! All was good, so I recommended some suppliers and helped the landlord with the raw material order. That was a Friday, the following Thursday was brew day.

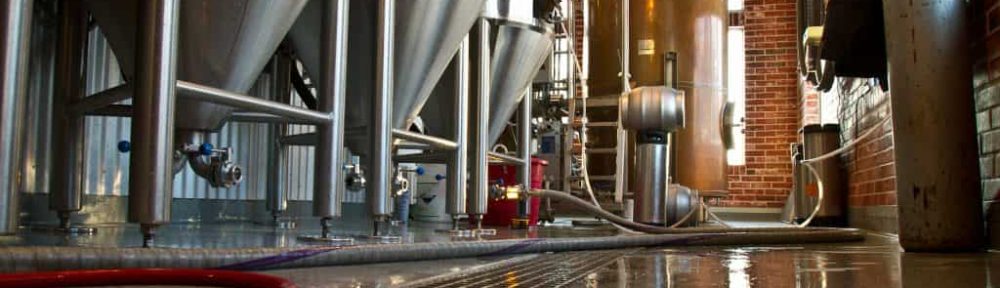
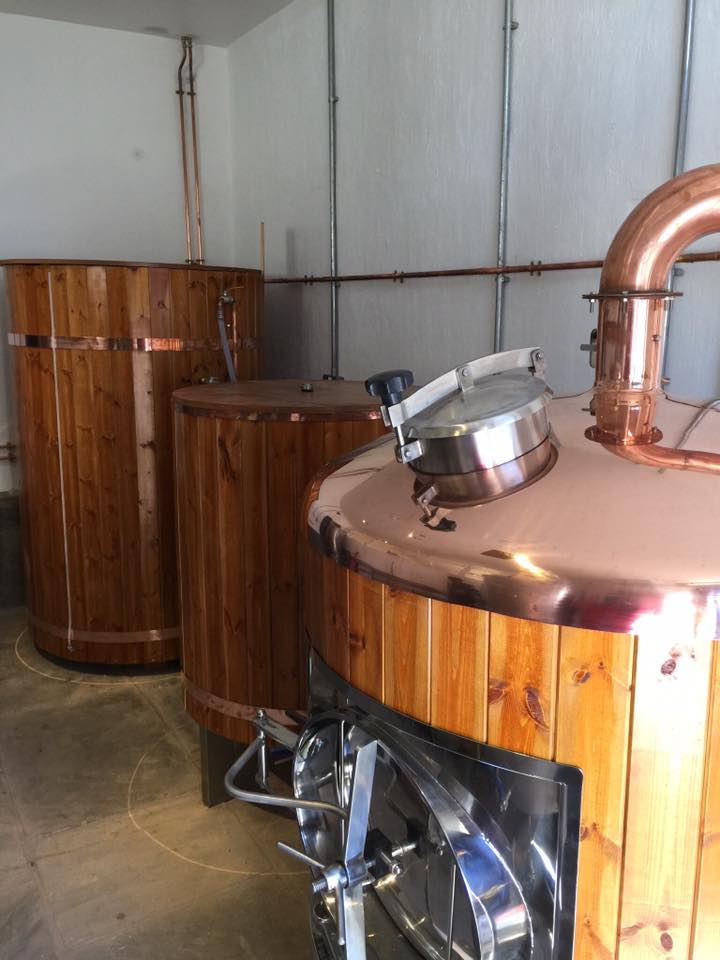
As the eagle eyed will have spotted the brew kit was a PBC / “Dave Porter” kit. Whilst their entry level kits are rather basic, I’ve been extremely pleased with the performance which I have coaxed out of the two that which I now regularly operate. The level of control is limited when compared to the 30 BBL which I used to run at Bowland but with some forethought it’s not hard to get excellent and consistent results. One of my tricks is to mash-in ‘in three thirds’. This allows me to quickly and easily make any corrections to my calculated strike temperature and allows me to use a single HLT set point for both mashing and sparging. My mash temperatures are always within +/- 0.5 C of plan, a performance equal to the use of pre-masher on a much larger kit. Extraction yields have always been around 99% too, so nothing to complain about there either.
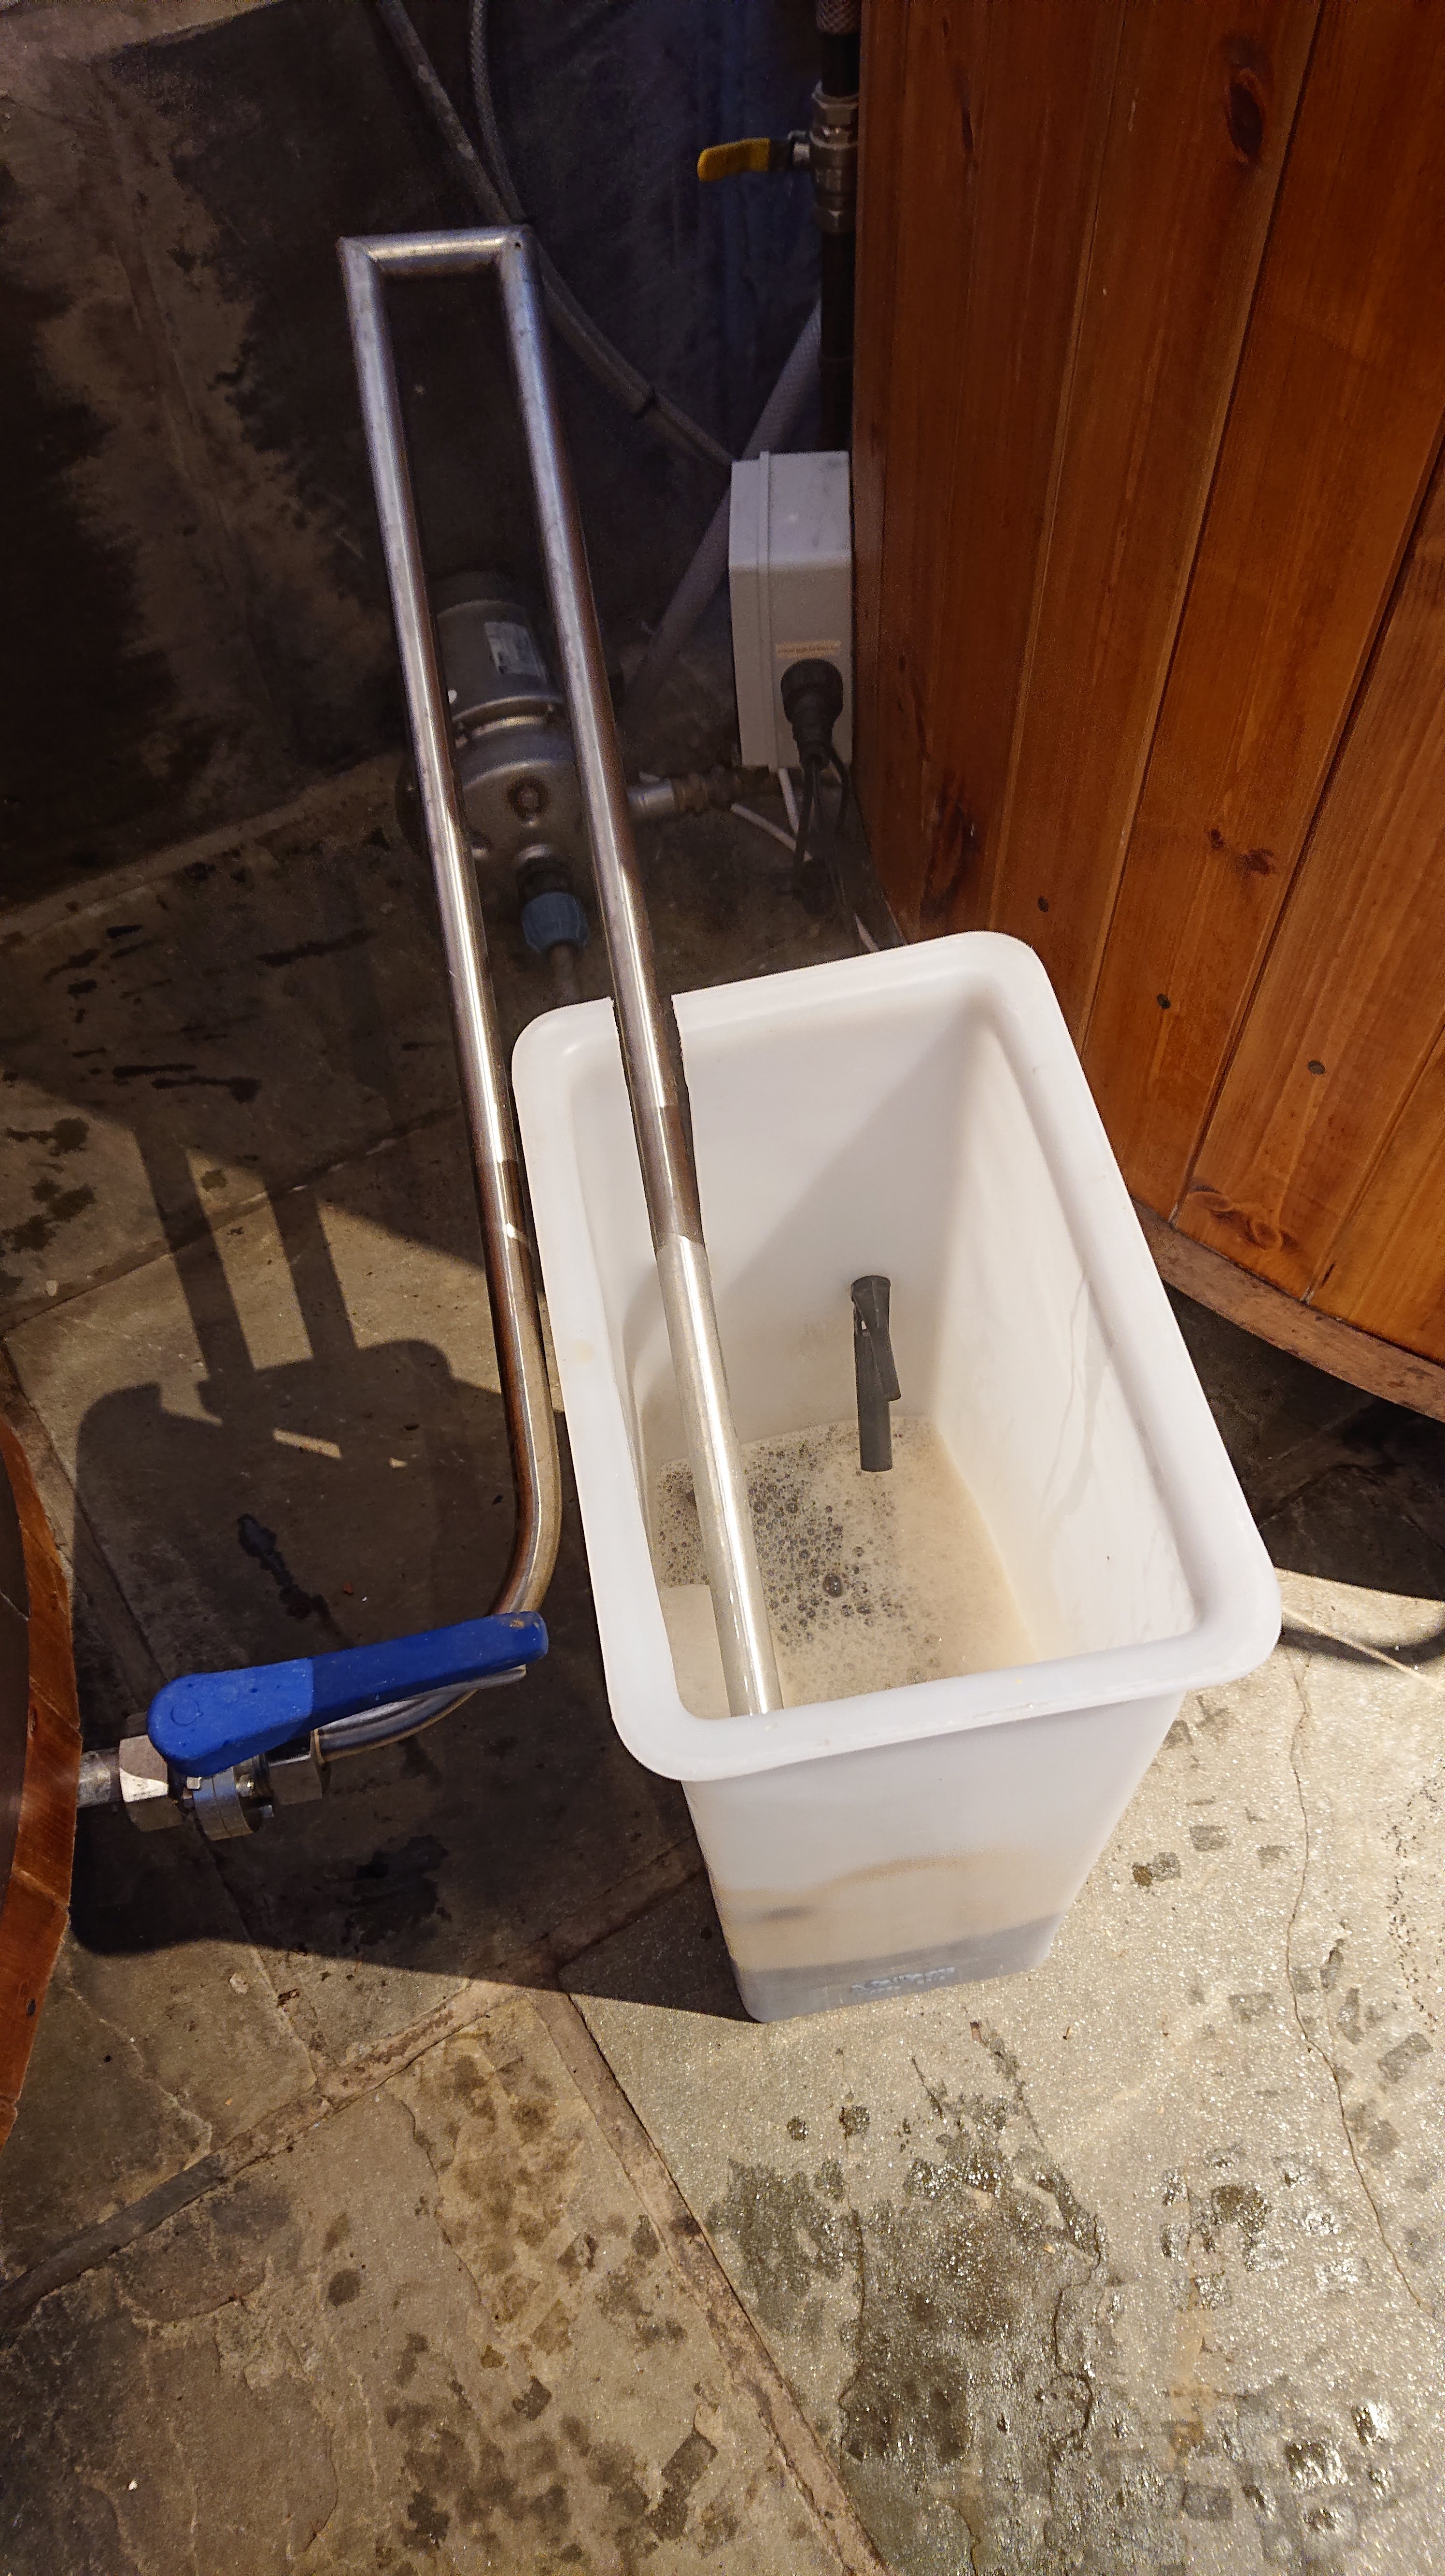 When it came to running off the wort I had a new toy to play with. This was a first time I’d seen a Valentine Arm in the flesh, but what a nice addition it was. The subtly by which I could adjust the flow rate of wort out into the under back was fabulous. It was so much better that the ubiquitous butterfly valve you find on almost all mash tun outlets.
Now I have wort coming up to the boil in the copper and it gives me a chance to pass on another tip for getting the best out of a small brew kit. As with any vessel you want to boil in, the working capacity is only ever around 80% of the total capacity. However, even with this precaution in place it is so much easier to boil-over a 500 L rather than a 5000 L copper. But one thing you can do is to take advantage of a little discussed feature of hops, that the lipids within them act as a natural anti-foam. Even if your beer design is aiming to add most of the hops at flameout, if you add just 5% of the bittering potential up front you can greatly minimise the foam formed by the initial protein precipitation of the boil making it easier to control the initial boil at a maximised capacity.
The rest of the day proceeded to plan and by the next morning there was pleasing krausen on top of the fermenter so I just needed to leave the yeast to do its job. In my experience, fermentation is slower in flat bottomed FV’s than cylindroconicals. Given that dry hop extraction is also better in the latter, I can only assume this is down to better mixing.
 Five days later we were at 1010 and it was time for a diacetyl test. I find any beers which contain chocolate malt or Crystal 150 need a diacetyl rest and this beer was no different. Another two days and all was well and it was time to charge the auxiliary finings and cool. That brought me to the weekend, so I racked out on the Monday. And a week after that, my client was able to serve his own ‘in house’ beer after a gap of four years. Depending on how quickly it sells I can see there is scope to increase the batch size next time, but clearly this needs to be a good match for what can be sold over the eight weeks post racking. More exciting still is their enthusiasm for me to work with them on a new beer design, something pale and tasty for the summer months.
What a satisfying fortnight that was. It is always great to be able to work in an enthusiasm small team and to know that I can make a significant contribution to projects such as this, bringing a breadth of brewing experience, process plant understanding and IBD technical knowledge to bear. That’s why I love micro-brewing. Do you want to install a brew kit into your pub but don’t know how you would staff something that isn’t planned to run every week of the month? Would you like someone to check over a beer design or help you with your water chemistry? Just give me a call and let’s explore how I might help.
